Touchscreen Test guide
One of the Things's Touchscreen Test is a device check that covers the whole screen with squares and turns each square from blue to orange as your finger passes over it, so you can see whether any spot fails to register touch. There is no score or timer: it only shows where touch did not respond, and a square that stays blue to the end means touch is not detected there. The second method, Draw lines, also reveals lines that break while you draw and ghost touches that appear without anyone touching. This guide covers how to run the test, tips for good results, reading the result, settings, drawing lines, notes for iPhone, and frequently asked questions.
Starting the test
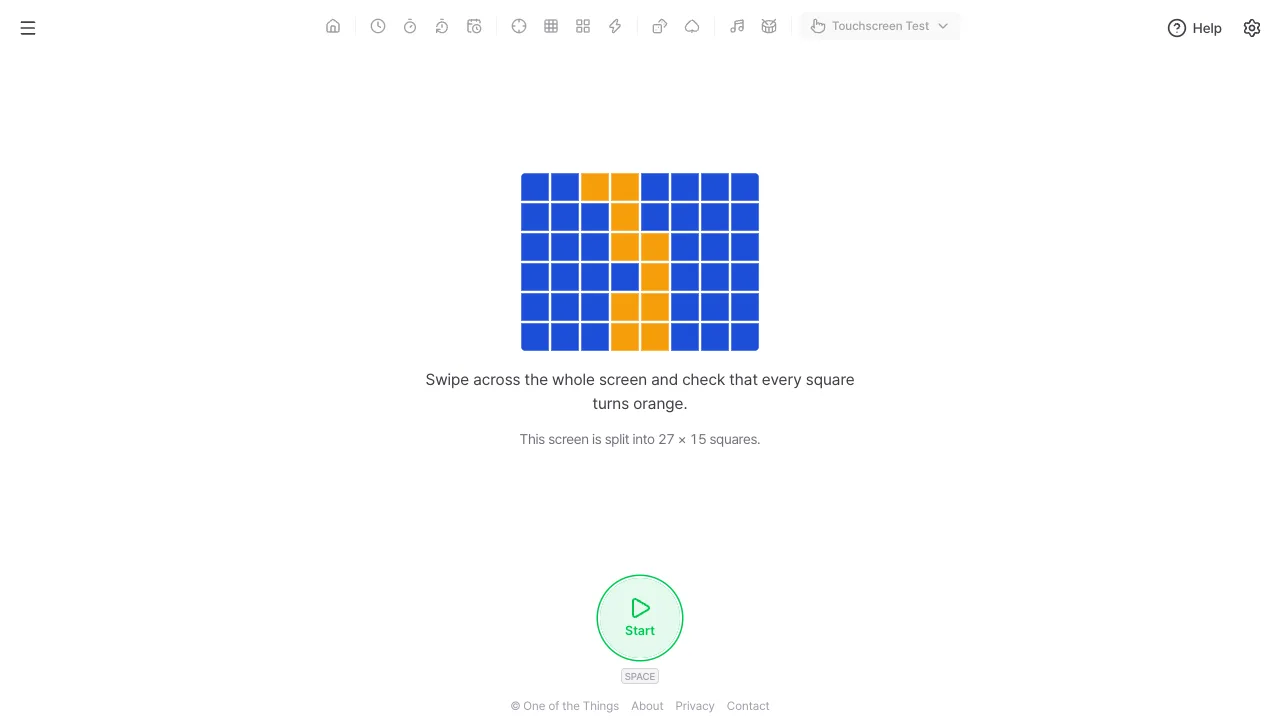
When you start, a test layer covers the whole screen. Menus and buttons are hidden meanwhile, so even the squares in the corners can be reached with a finger.
- Press the menu button at the top left and choose “Touchscreen Test”. On a wide screen you can also open “Device tests” in the tool list at the top and choose “Touchscreen Test”.
- Press “Start” or tap anywhere on the screen. With a keyboard, press Space or Enter. In browsers that allow full screen, the page goes full screen.
- Swipe your finger across the whole screen, one line at a time. Squares you touch turn from blue to orange.
- When every square has turned orange, the result appears right away. To stop early, press “End” in the bar at the bottom center, or press Esc.
During the test
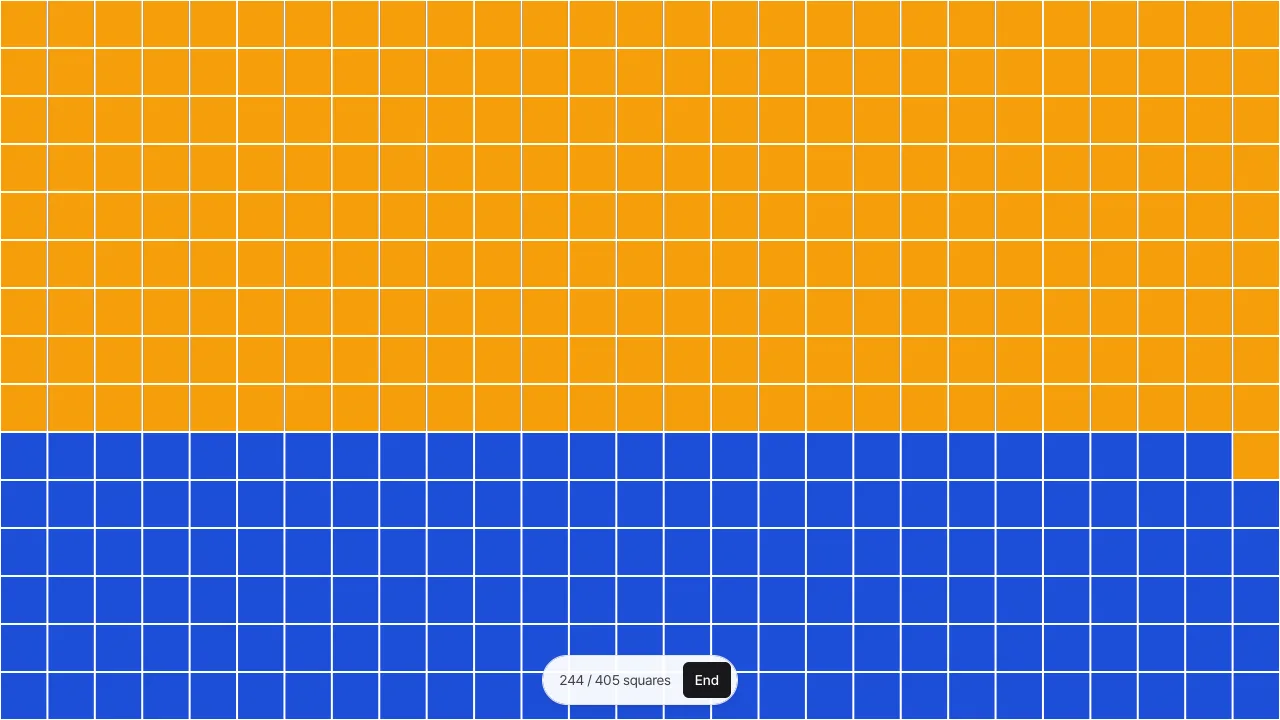
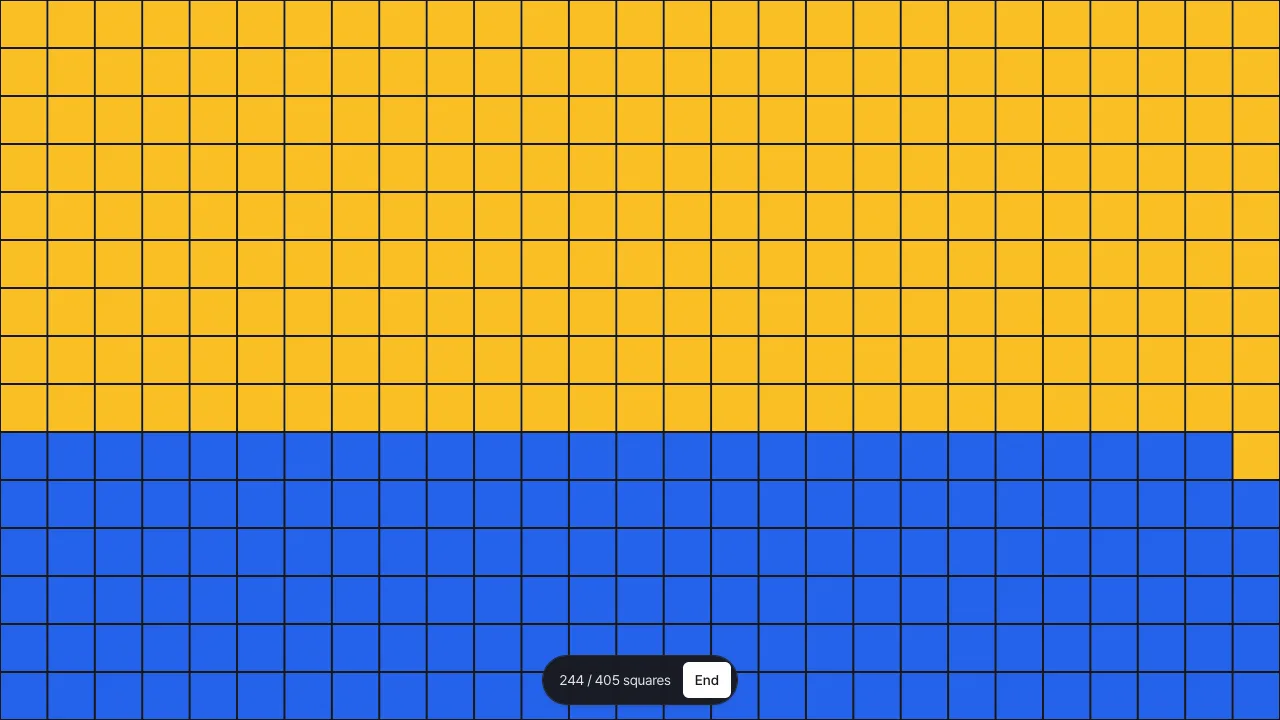
The test screen has only squares and no text. A small bar at the bottom center shows progress (for example 12 / 144 squares) and the “End” button.
- Sweep slowly, one line at a time, without overlapping, to check every square. If you swipe very fast, squares can be skipped and stay blue. That is not a fault: the touches were just farther apart than a square, so swipe over those squares again.
- This tool deliberately does not fill the gaps between touches generously. Filling squares that your finger crossed but the sensor never reported would hide a fault.
- Squares hidden under the bar can be filled by swiping over the bar; touches on the bar also fill the square beneath. If no blue square is visible but progress is short, the last one or two squares may be under the bar.
- Squares at the screen edge may not respond because of a case, a curved screen, palm rejection, or system gestures (swiping from the edge on iPhone, the back gesture on Android). This tool does not treat those squares differently.
- You can use several fingers; each finger is followed separately. The number of fingers touching at once is not counted.
- If a screen reader is on, it intercepts touch and the test will not work. Rotating the screen splits the squares again and starts over.
Reading the result
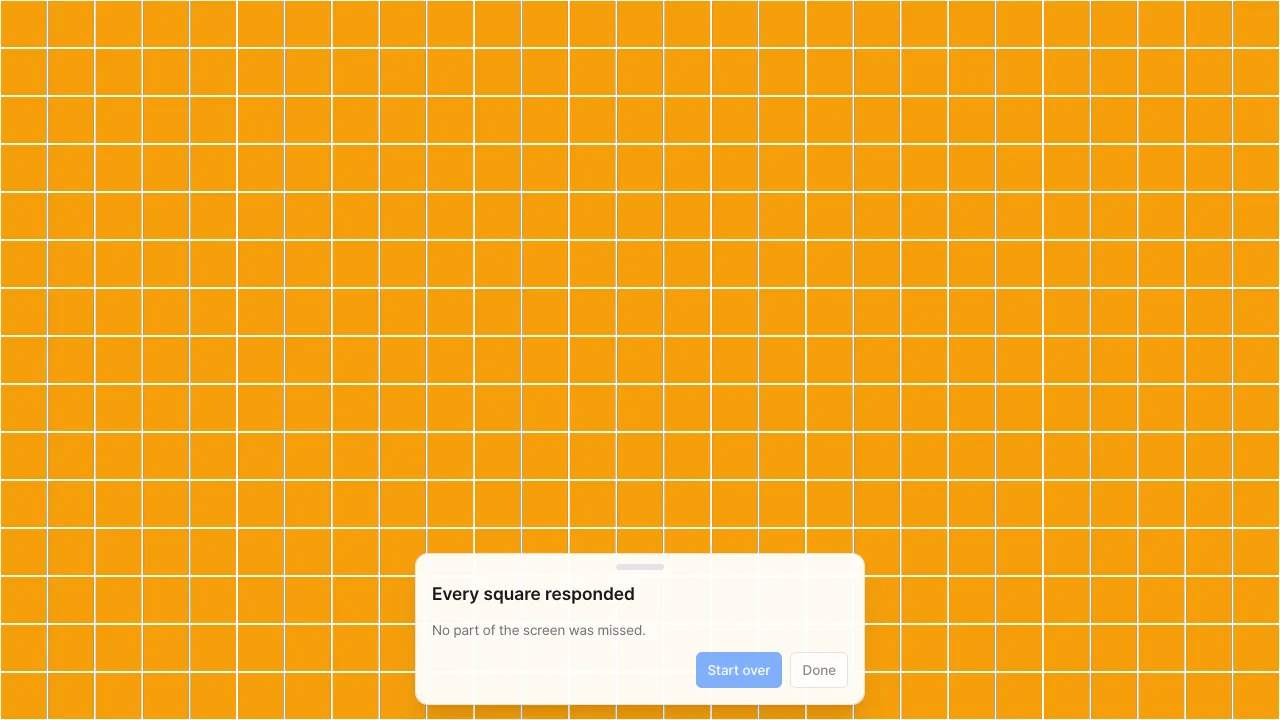
When every square responds, or when you press “End”, a result card appears at the bottom center.
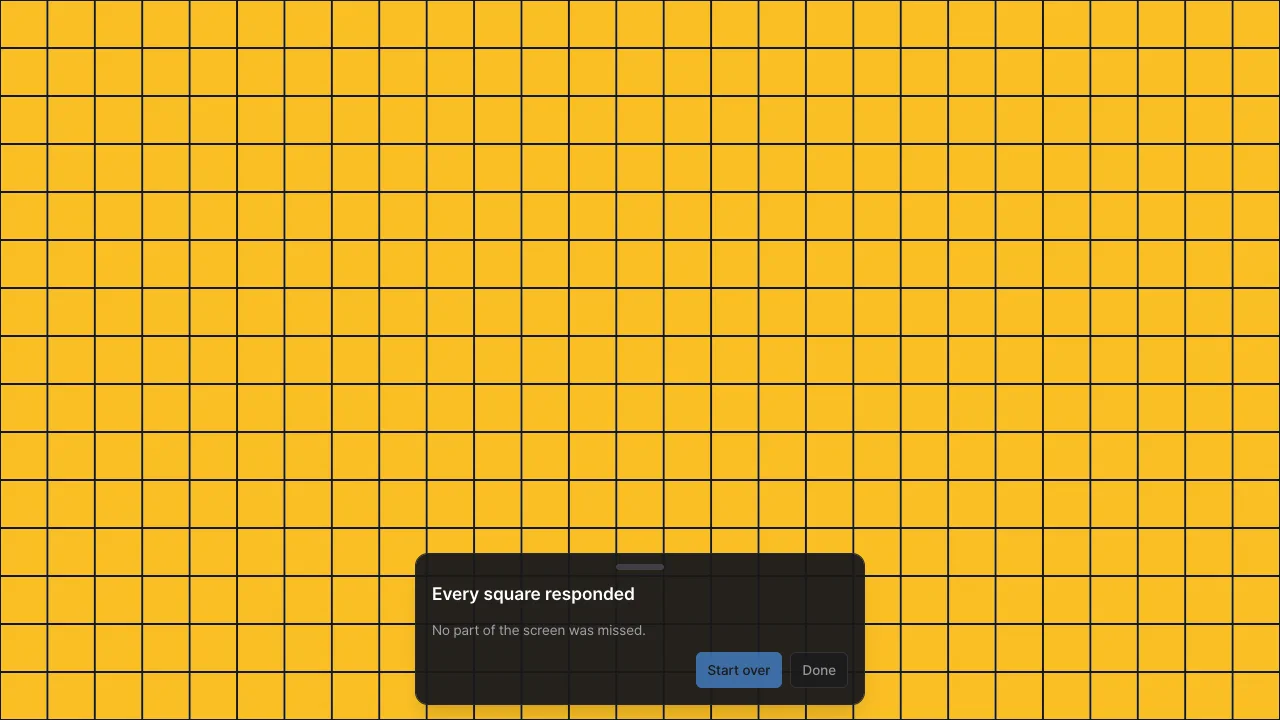
- “Every square responded” means no part of the screen was missed at the square size you chose.
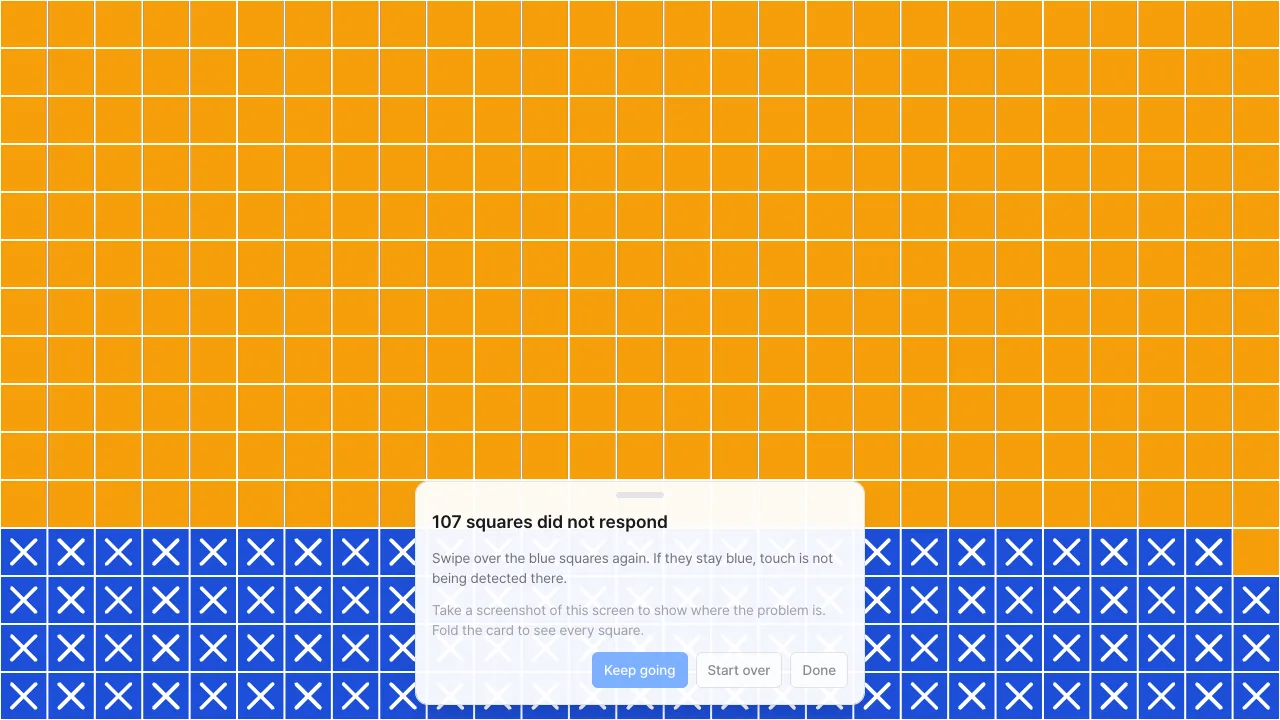
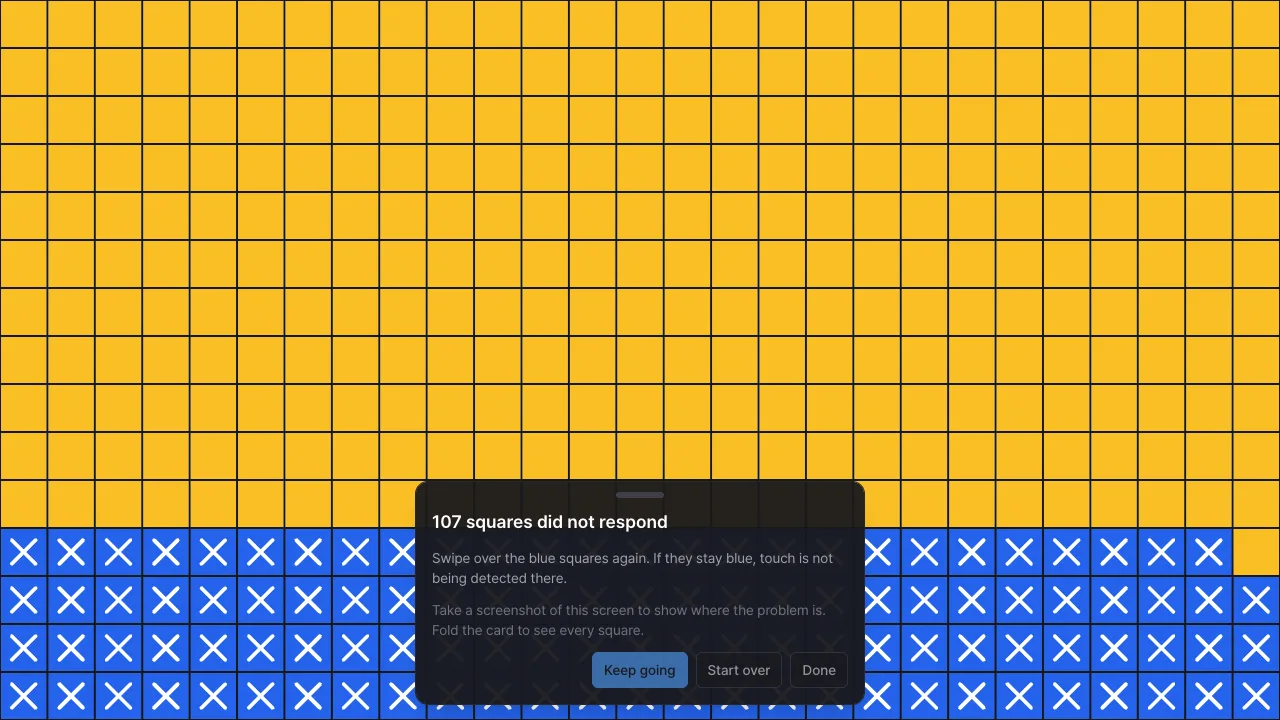
- If you end with blue squares left, you see “n squares did not respond” and a white × is drawn on each remaining square. Press “Keep going” to return and swipe over them again.
- If a square stays blue after several passes, that spot’s sensor is not reporting touch. Press the handle at the top of the card to fold it (all squares become visible), then take a screenshot with your device to show where the problem is.
- Right after the result appears, the buttons ignore presses for a moment, so a finger still finishing the last square does not press one by mistake.
- “Start over” begins again with the same settings, and “Done” closes the test screen and returns to the first screen. Results are not saved.
Settings
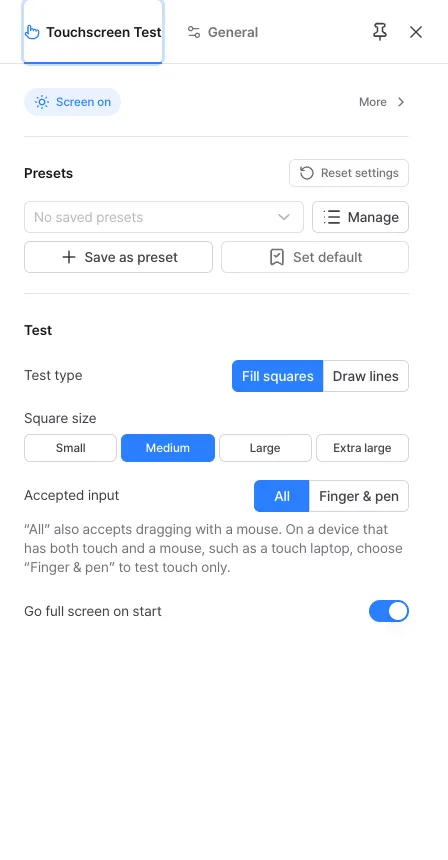
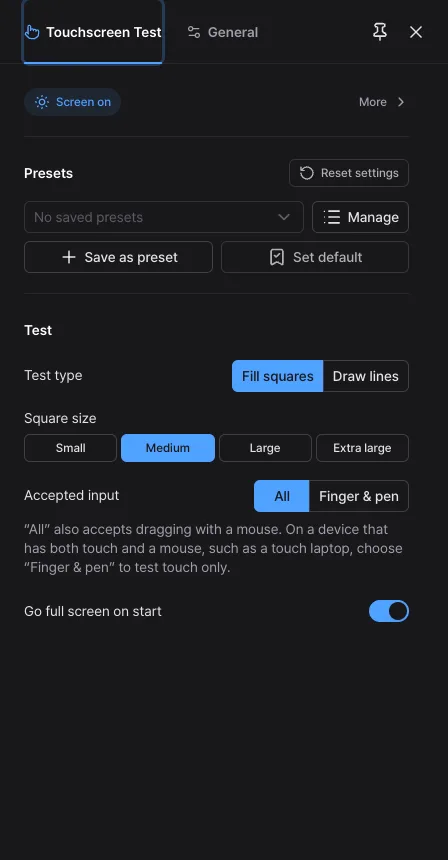
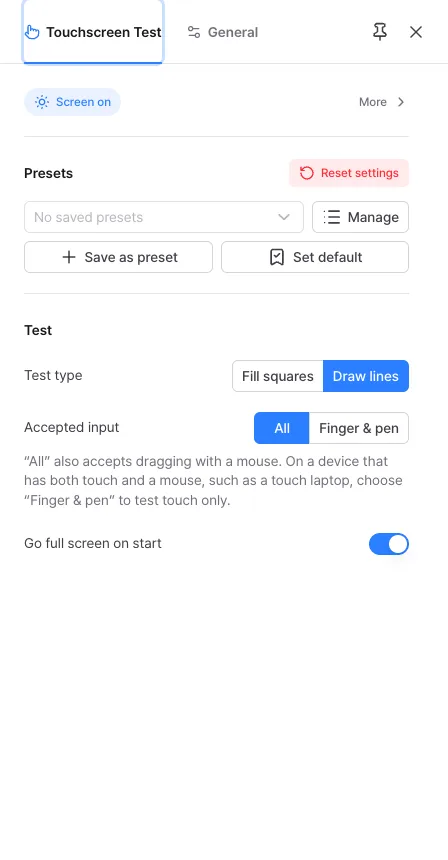
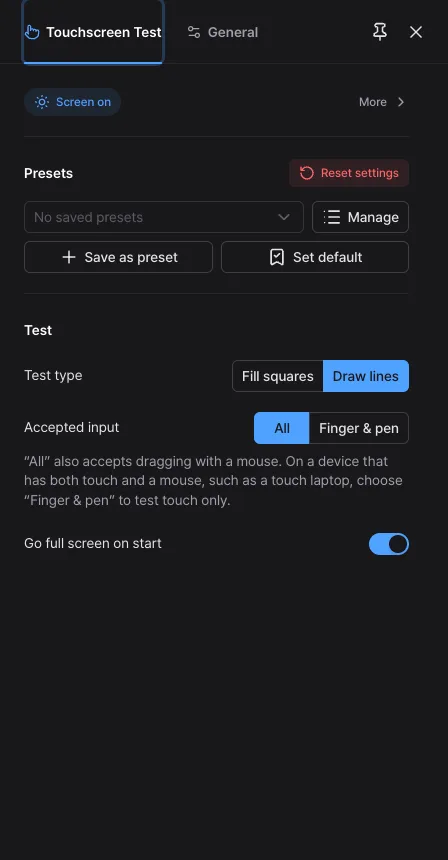
Change them in the “Test” group of the settings panel. The panel cannot be opened during a test, and changes apply from the next start.
- Test type: choose between “Fill squares” (default) and “Draw lines”.
- Square size: Small (about 32px), Medium (about 48px, default), Large (about 80px) or Extra large (about 120px). Smaller squares find smaller faults but there are more to swipe. On a large tablet, a first rough pass with Extra large is handy. This setting is hidden for “Draw lines”.
- Accepted input: “All” (default) also accepts dragging with a mouse; “Finger & pen” accepts only fingers and pens. Change it on a device with both touch and a mouse, such as a touch laptop, when you want to test touch only.
- Go full screen on start: when on (default), full screen is requested at the start. If the browser does not support full screen, this setting is hidden.
- At the top, “Presets” lets you keep settings you use often as your own presets.
Draw lines
Even when every square responds, filling squares cannot reveal touch that drops out while you draw or touch that appears without being touched. For those, switch the test type to “Draw lines”.
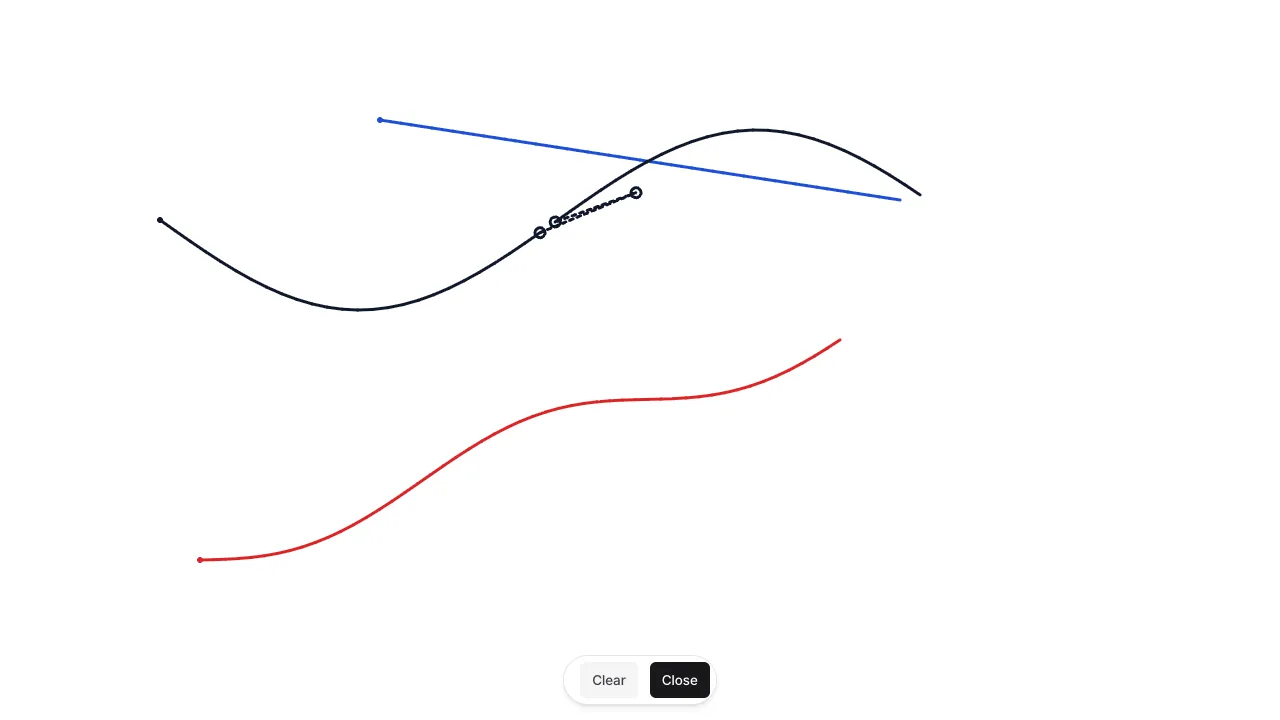
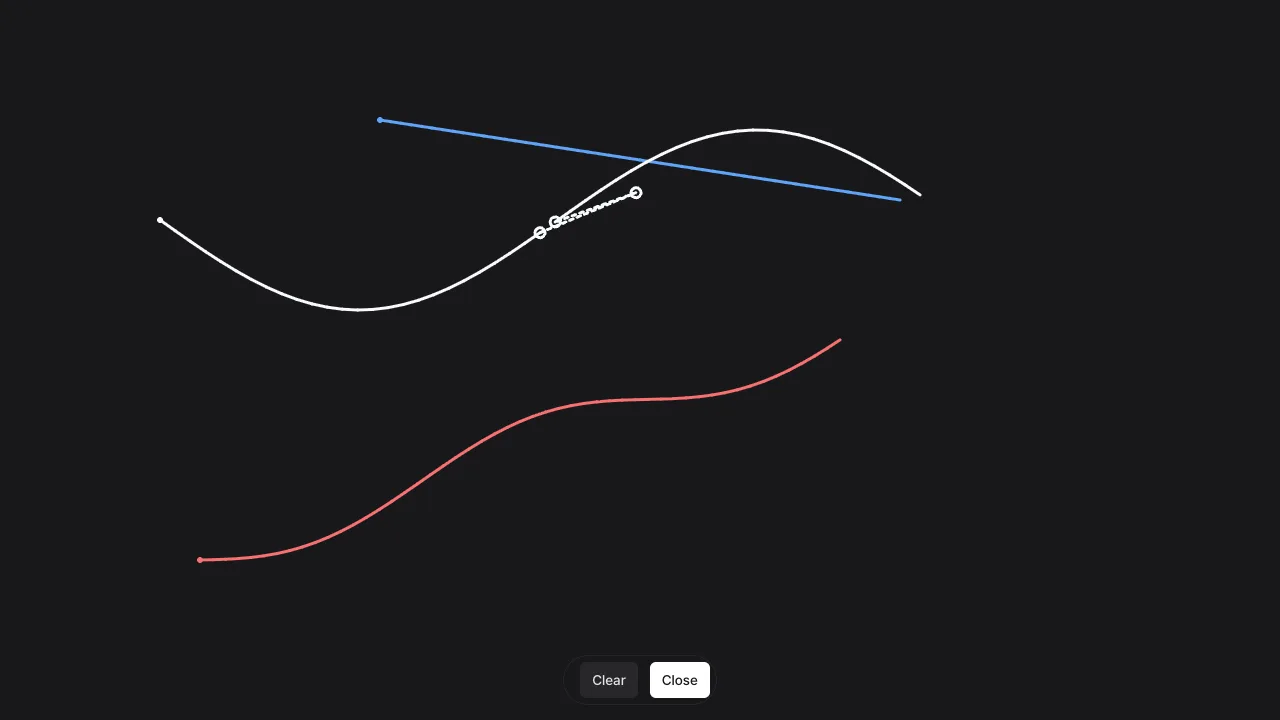
- Keep your finger down and draw slowly and long. The line should stay unbroken. Each finger has its own line color, and up to six fingers are told apart.
- A dotted line with hollow circles marks where touch dropped out once. If it repeats at the same spot even when you draw slowly, the spot is the problem; a break that only happens with a very fast flick is not a fault.
- A ghost touch shows up as a dot or line that appears by itself where you did not touch. Press “Clear”, lift your hand, and watch for a moment.
- A moment after you lift all fingers, the bar at the bottom center (“Clear” and “Close”) comes back. “Clear” erases every line so you can keep drawing; “Close” discards the lines and closes the test screen.
- Draw lines has no score or verdict, and lines stay until you press “Clear”.
Using it on iPhone
Browsers on iPhone such as Safari keep their address bar and toolbar, so the top and bottom of the screen cannot be tested.
- To test the whole screen, add this page to your Home Screen and open it from there. The waiting screen shows the same note, and “See how” opens the “Tips” tab of the help.
- A web app opened from the Home Screen uses the whole screen below the status bar. Behind the notch and the home indicator there are no squares, only the background color.
Frequently asked questions
- Does a square that stays blue mean the screen is broken?
- Not necessarily. A screen protector, a wet or dirty screen, or a spot at the very edge can all cause it, so wipe the screen and swipe again. If the same spot stays blue, it may be a touch hardware problem, but this tool does not diagnose causes; it only shows where touch did not respond.
- If every square responds, is touch fine?
- It means touch was detected in every square at the square size you chose. It does not tell you about faults smaller than a square, touch precision, or several fingers at once. Try the Small square size, or also use “Draw lines”.
- Why do I not see the menu or settings buttons during the test?
- They are hidden on purpose. The test screen covers the whole screen so that no square is out of reach because of a corner button. To finish, press “End”, then press “Done” on the result card.
- Where are my touch positions sent?
- Nowhere, and they are not stored. Touch positions are used only on this device to color squares and disappear when you close the test.
Try it out right away. You can always return to the original settings with 'Reset settings' in the settings panel.